vGIS Engineering Software Plugins


Autodesk® Civil3D® Plugin

Instructions:

  1. Download the plugin package below
  2. Unzip the package into a “vGIS.Civil3D.bundle” folder, containing:
    • PackageContents.xml
    • The “Contents” sub-folder with two files – vGIS.Civil3D.dll and vGIS.cuix – inside
  3. Move the folder to “C:\ProgramData\Autodesk\ApplicationPlugins\”
  4. Navigate to “C:\ProgramData\Autodesk\ApplicationPlugins\vGIS.Civil3D.bundle\Contents”
  5. Right-click on vGIS.Civil3D.dll and select “Properties”. If you see a security warning at the bottom of the property window (Fig. 1), click “Unblock”
  6. Repeat Step 5 for vGIS.cuix
  7. Your are done!

Fig. 1

To uninstall the plugin, delete the “vGIS.Civil3D.bundle” folder from “C:\ProgramData\Autodesk\ApplicationPlugins\”.

vGIS plugin for Civil3D® package (version 1.0 published on 2023-01-25):

Autodesk® Navisworks® Plugin

Instructions:

  1. Download the plugin package below
  2. Unzip the package into a “vGIS.Navisworks” folder, containing:
    • vGIS.Navisworks.dll
    • vGIS.Navisworks.dll.config
    • The “Content” sub-folder with two image files
  3. Move the folder to “C:\Program Files\Autodesk\Navisworks Manage 2023\Plugins\”
  4. Your are done!

To uninstall the plugin, delete the “vGIS.Navisworks” folder from “C:\Program Files\Autodesk\Navisworks Manage 2023\Plugins\”.

vGIS plugin for Navisworks® package (version 1.0 published on 2023-02-21):

Autodesk® Revit® Plugin

Instructions:

  1. Download the plugin ZIP archive below
  2. Unzip the .msi file from the ZIP archive
  3. Uninstall any previously installed vGIS Revit plugins using Windows “Add or Remove Programs”
  4. Run the downloaded executable and follow on-screen prompts
  5. You are done!

To uninstall the plugin, use Windows “Add or Remove Programs”.

vGIS plugin for Revit® package (version 4.0 published on 2023-01-25):

Use Instructions

  1. Obtain the vGIS API Key (Fig. 1).
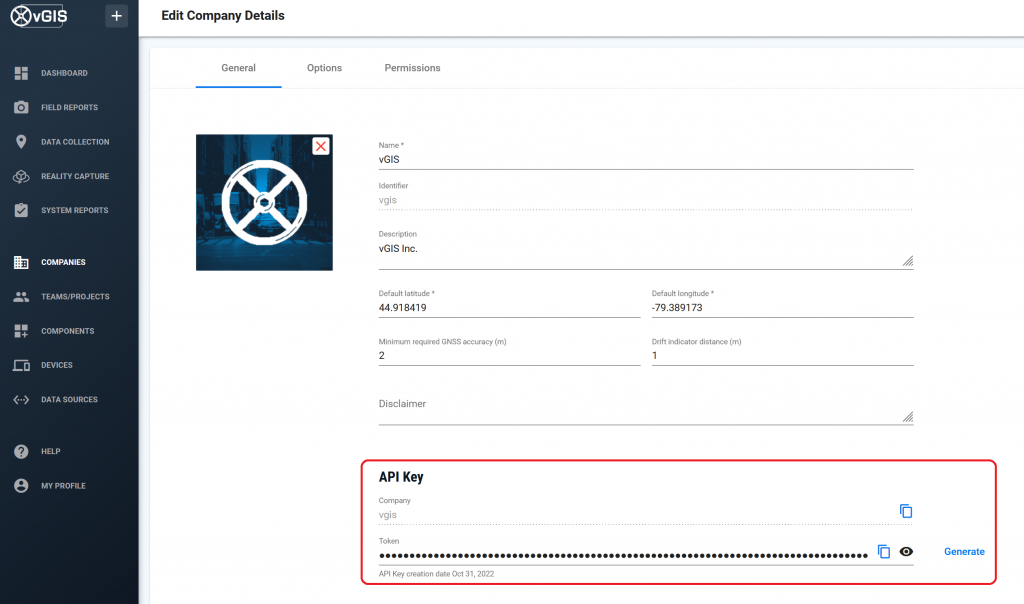
    • If you would like to publish your datasource to the company level use the API key from the company page. If the field is empty, click “Generate” to create the first key.
    • Publishing data to a specific team requires the same steps in the Team/Projects menu.
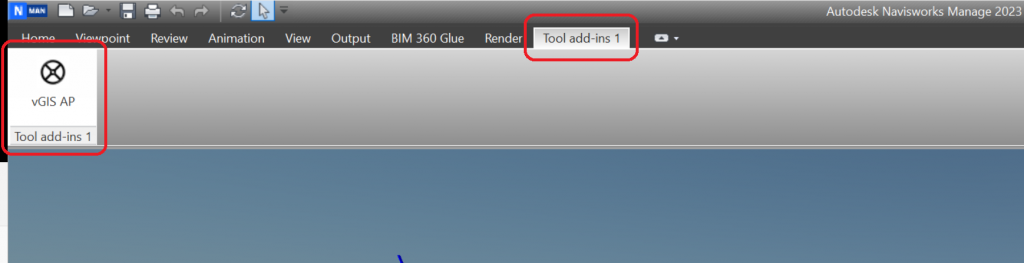
  2. Open CAD software (Autodesk Civil3D®, Navisworks® or Revit®) and navigate to the Add-Ins tab (Fig. 2).
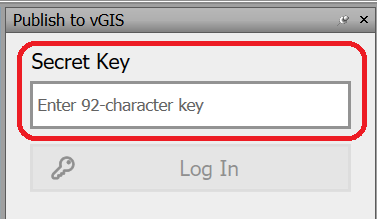
  3. Within the vGIS plugin, enter your copied API Key (Fig. 3). New users should only need to enter it once, as the plugin will remember the key for future use.
    • To change the target team/company in the future, use the logout button in the plugin.
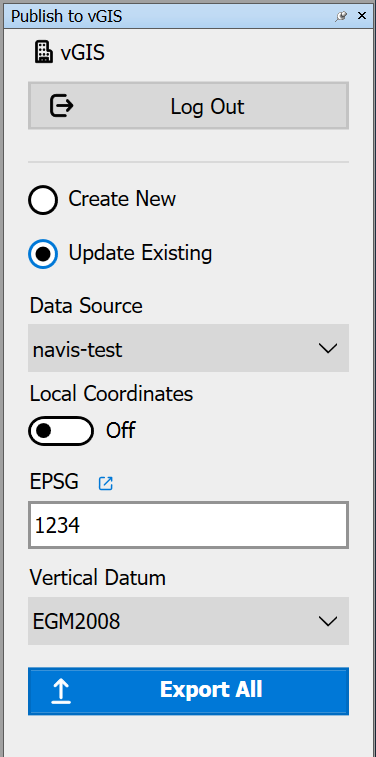
  4. Choose whether you would like to create a “New Datasource” or “Update Existing” (Fig. 4).
    • To create a New datasource, provide the name, EPSG code and the vertical datum, then click “Export All”.
    • To update existing, select the datasource from the dropdown and click “Export All”.
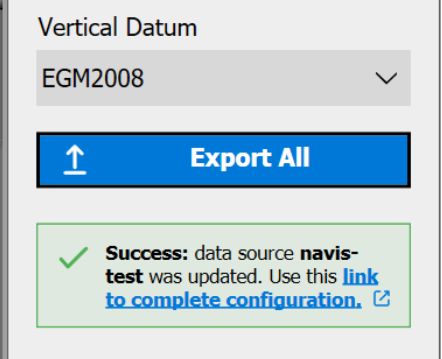
  5. Upon the successful export, you will see a green textbox in the bottom-right saying “Success: datasource “file name” was updated. Use this link to complete configuration” (Fig. 5). Clicking the link will transfer you to the vGIS Portal where you can assign categories to layers.

Fig. 1

Fig. 2

Fig. 3

Fig. 4

Fig. 5